By: Karin Cho
Koji is a beloved fungus in Japanese cuisine because of its role in producing sake, miso, soy sauce, rice vinegar, and many more umami-packed ingredients. Koji belongs to the Aspergillus genus, but unlike some of its toxic cousins, Koji does not produce aflatoxin, making it safe to consume (3).
Recently, many chefs have experimented with using koji in novel ways, such as the koji-encrusted pork by Chef Jeremy Umansky of Larder: A Curated Delicatessen & Bakery. Traditionally, koji is used primarily to ferment grains and soybeans, but curious chefs have shown that these fungi can boost the flavor profile for meats and sauces (1,2).
To read more about the science behind Koji, go to this post by Bryan Quoc Le.
Even if you aren’t near a restaurant serving koji-encrusted meats, you can actually make your own batch of koji at home. Since the culture is alive, it takes some care to ensure unwanted molds and bacteria do not out-compete the koji. Though it is possible to culture koji without a starter, it can be challenging for beginners to determine whether the cultured mold is the right species. If this is your first time making koji culture, it is safer to purchase a koji culture starter and get a feel for the mold before collecting your own spores.
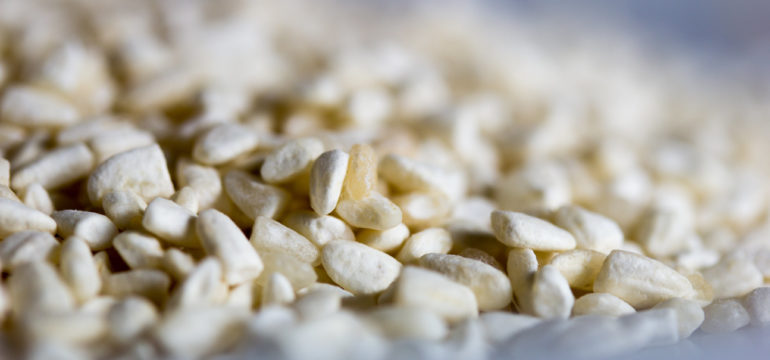
Koji culture can be purchased at some Oriental grocery stores, but if there is none nearby, you can also purchase it online by searching “koji starter culture” or “koji kin starter”. Some brands will sell dried koji-rice (malted rice) slates, which can be “activated” by adding water. This type of starter is great if you do not have time to start a culture from rice grains. Since the koji has already been seeded with the rice, it cuts down the prep work of steaming rice. After the starter has been activated, which usually takes around one to three weeks depending on the temperature, it can be used to marinate meats or as an ingredient for salad dressings.
Another type of culture you can purchase is the koji-kin, which is similar to sourdough yeast starters. Like yeast, koji-kin also appears as a lightly colored powder, though this powder contains dried koji spores instead of baker’s yeast. Also, unlike the previous method of using a koji-rice slate, starting a culture from koji spores will take more time, but will be a valuable experience if you are looking to create your own koji spores in the long run.
Since there are several ways to make koji, this is a method described by Japanese koji-makers. Making koji from koji-kin is a labor-intensive process, so make sure to plan your steps ahead of time. The fermentation process can take 45-50 hours. Luckily, most of the work is done by the koji, and you will just need to check up on it every few hours.
What you will need:
- 500 g rice (Traditionally uses short grain white rice)
- Soft water (Stick with manufacturer’s recommended hardness of water, if applicable )
- 3 g koji-kin
- 3 clean steam cloth/cheese cloth
- Thermometer
- Metal tray or pan
- Strainer
- Koji Incubator* (See “Notes” for how to set up your own incubator)
Starting your koji culture:
- Rinse the rice with water to remove excess starch, and then immerse the rice in soft water. Soak overnight in the fridge.
- Strain the soaked rice and remove as much water as possible.
- Wrap the rice in a clean cloth and transfer it to a steamer. If using a bamboo steamer, remove the lid for the first 5-10 min to ensure steam is rising, and then close the lid, letting the rice steam for 40-45 min on high heat. Rice should be slightly firmer than fully cooked rice, but not undercooked such that the center of the rice is still white.
- All steps after this require very clean hands. Wash your hands before completing any of the following steps to avoid contaminating your rice.
- Immediately transfer the steamed rice to a new clean cloth on a clean tray or pan and let cool by gently folding the rice to release steam.
- Koji-kin is very fine, so do not do this step near a fan or AC system. Once the rice has cooled to 36 degrees C, sprinkle some of the koji-kin onto the rice and mix the rice and koji-kin with your hands. Repeat until all the koji-kin has been incorporated. Break apart any clumps of rice. Do this step quickly to avoid over-cooling the rice.
- Wrap the koji-rice mixture with the cloth tightly and incubate the mixture at 32-35ºC for 18-22 hrs. Having a bowl of water in the incubator ensures that the koji-rice does not dry out while fermenting. Wipe away any condensation on the lid to avoid water dripping onto the koji.
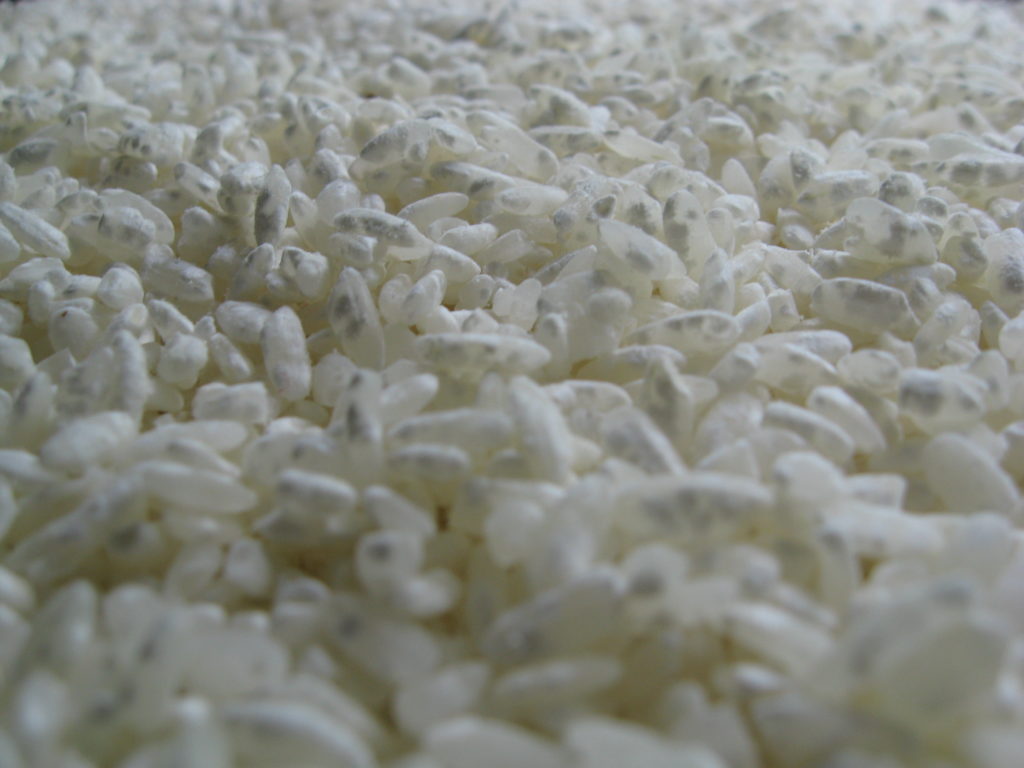
Figure 2. Koji growth on rice. Courtesy to fo.ol (https://flic.kr/p/52g5ZW)
- After 18-22 hrs, there will be small white speckles on the rice, indicating koji growth. Unwrap the cloth and gently break apart any clumps of rice quickly to prevent the temperature from dropping too low. Re-wrap the koji-rice mixture and return to the incubator for 3 hrs.
- After 3 hrs, the koji-rice should have a sweet scent. Check if the rice is at 40 degrees C. If not, set to a slightly higher temperature or wait a couple of hours.
- Once the rice is around 40 degrees C, unwrap the koji-rice and break apart all clumps, transferring the broken up pieces into another clean tray or pay. Evenly spread out the koji-rice and cover with a damp cloth. Return koji-rice to the incubator for 5-6 hrs, or until the rice has again reached 40 degrees C.
- Take out the tray and break apart any clumps. Allow the temperature of the koji-rice to drop to 38 degrees C before returning the tray to the incubator. Remember to cover the tray with a damp cloth.
- After 3 hours, if the koji-rice has reached 40 degrees C again, take out the tray and break apart any clumps. At this point, the koji-rice should have a strong sweet scent.
- Return the tray into the incubator without covering with a damp cloth and let it ferment for 6 hrs.
- After 6 hrs, increase the temperature of the incubator so that the rice will be at 40-42 degrees C. Let it ferment for another 6 hrs.
- Once the fermentation is complete, you should have a dry koji-rice slate. If you look closely, you should see fluffy white koji growing on the rice grains. Break apart the clumps and let cool before storage.
- To store your koji culture, transfer it into a freezer bag and freeze for up to 3 mo. If using immediately, you can store it in the fridge for up to 3 weeks.
Recipes to try with your koji culture (Start here if using the koji-rice slate starter):
Ama-zake (sweet sake): Cook 150g of white rice into a porridge with the consistency of mayonnaise (takes around 300 mL of water, but adjust as needed). Let the porridge cool to 60 degrees C. This step is crucial because the enzymes will deactivate if you add the koji when the porridge is still hot. Once the porridge is cooled, combine with 200 g of your koji-rice starter and keep warm (50~60ºC) for 8-10 hrs, stirring every 3 hours. If your container doesn’t have a lid, cover with a clean cloth. Once done fermenting, you can blend the mixture for a smooth mouthfeel or you can drink it as is. This drink can be served hot or cold.
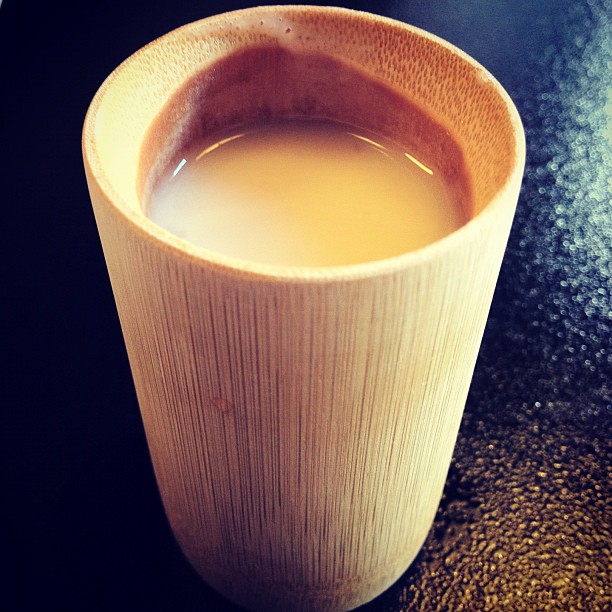
Figure 3 Amazake. Courtesy to Nobuyuki Hayashi https://flic.kr/p/bDGVSM
Shio-koji (salted koji): Add 60 g of salt to 300 mL of water and warm until 60 degrees C. In a clean zip-lock bag, add the koji-rice starter and warm salt water, and mix well. Leave the mixture at room temperature (preferably between 25-30 degrees C), and stir the mixture once every day until it reaches a thick consistency, around 1-2 weeks.
Once the shio koji is ready, you can use it to salt salads or marinate meat. Replace fried chicken marinades with shio-koji, and leave it in the fridge for 3-4 days before frying like usual. You can also marinate any vegetable, like cucumbers and carrots, in shio-koji overnight and serve it as pickles.
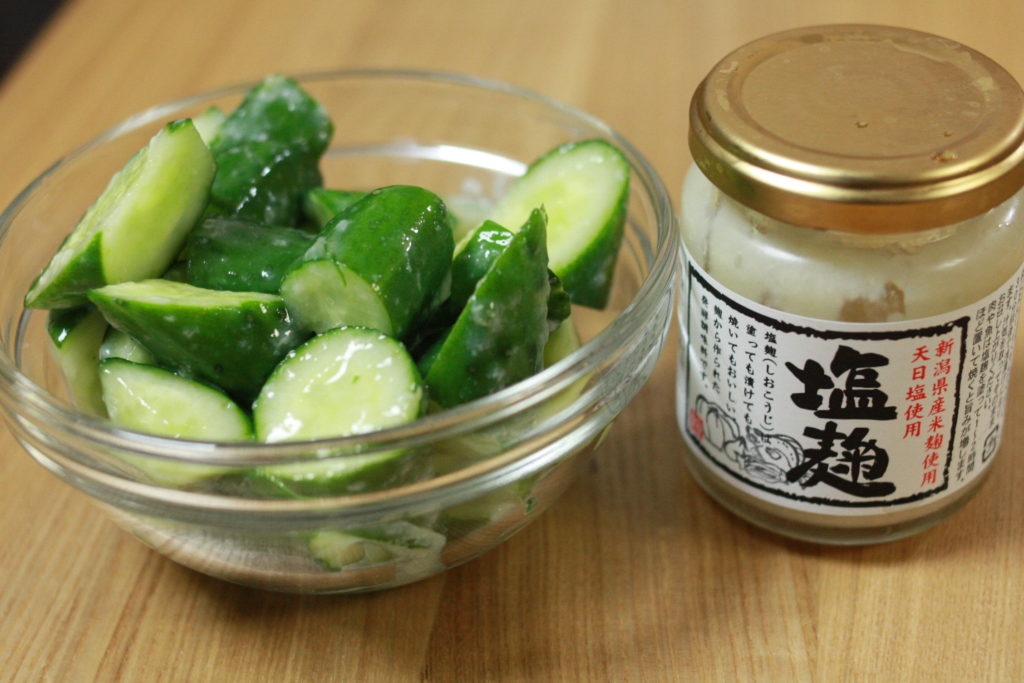
Figure 4. Shio-koji cucumbers. Courtesy to Tatsuo Yamashita (https://flic.kr/p/bq4tiY)
Notes:
If you do not have a koji incubator, you can make one with a cooler and some sort of heater with an adjustable temperature setting. Check out this resource from FermUp for how you can set up your own.
The commonly sold koji-kin has a white or off-white color; however, koji-kin can come in a variety of colors including green, red, and even black. During the koji making process, if you are unsure whether you have cultured koji or another mold, check with the manufacturer for what color your koji should be as well as detecting whether the odor from the rice is sweet. When unsure what you have cultured, it is safest to redo the process again.
References:
- Graber, C. Koji https://www.cooksillustrated.com/science/786-articles/feature/koji (accessed Jul 26, 2020).
- Katayama, A. Western Chefs Are Discovering And Transforming Koji Culture https://www.forbes.com/sites/akikokatayama/2018/10/28/western-chefs-are-discovering-and-transforming-koji-culture/ (accessed Jul 26, 2020).
- Machida, M.; Yamada, O.; Gomi, K. Genomics of Aspergillus Oryzae: Learning from the History of Koji Mold and Exploration of Its Future. DNA Res 2008, 15 (4), 173–183. https://doi.org/10.1093/dnares/dsn020.
- 米麹(米こうじ)の作り方|初めてでも失敗しない動画付き. https://kawashima-ya.jp/contents/?p=459 (accessed Jul 26, 2020).
- 自宅でできる米麹(米こうじ)の作り方. http://www.koji-za.jp/recipe/komekoji.php (accessed Jul 26, 2020).
Featured Image: Courtesy to Food Craft Lab (https://flic.kr/p/wxPekt)
 Karin Cho | Linkedin
SMF Blog Writer
Karin earned her B.A. in Biochemistry from Grinnell College, and during her time there, she was unsure how to merge her two passions for science and food. After attending several IFT events and completing a QA internship abroad, she decided to pursue a Master’s in Food Science and Technology from Iowa State University. Her research involves the development of fat alternatives. Growing up in a Chinese-Japanese household, she developed a palate for tasting new, sometimes bizarre, foods. When she’s not learning about food science, she enjoys watching science fiction movies, taking walks in parks, and learning new recipes from the people she meets during her travels.



Leave a Reply